
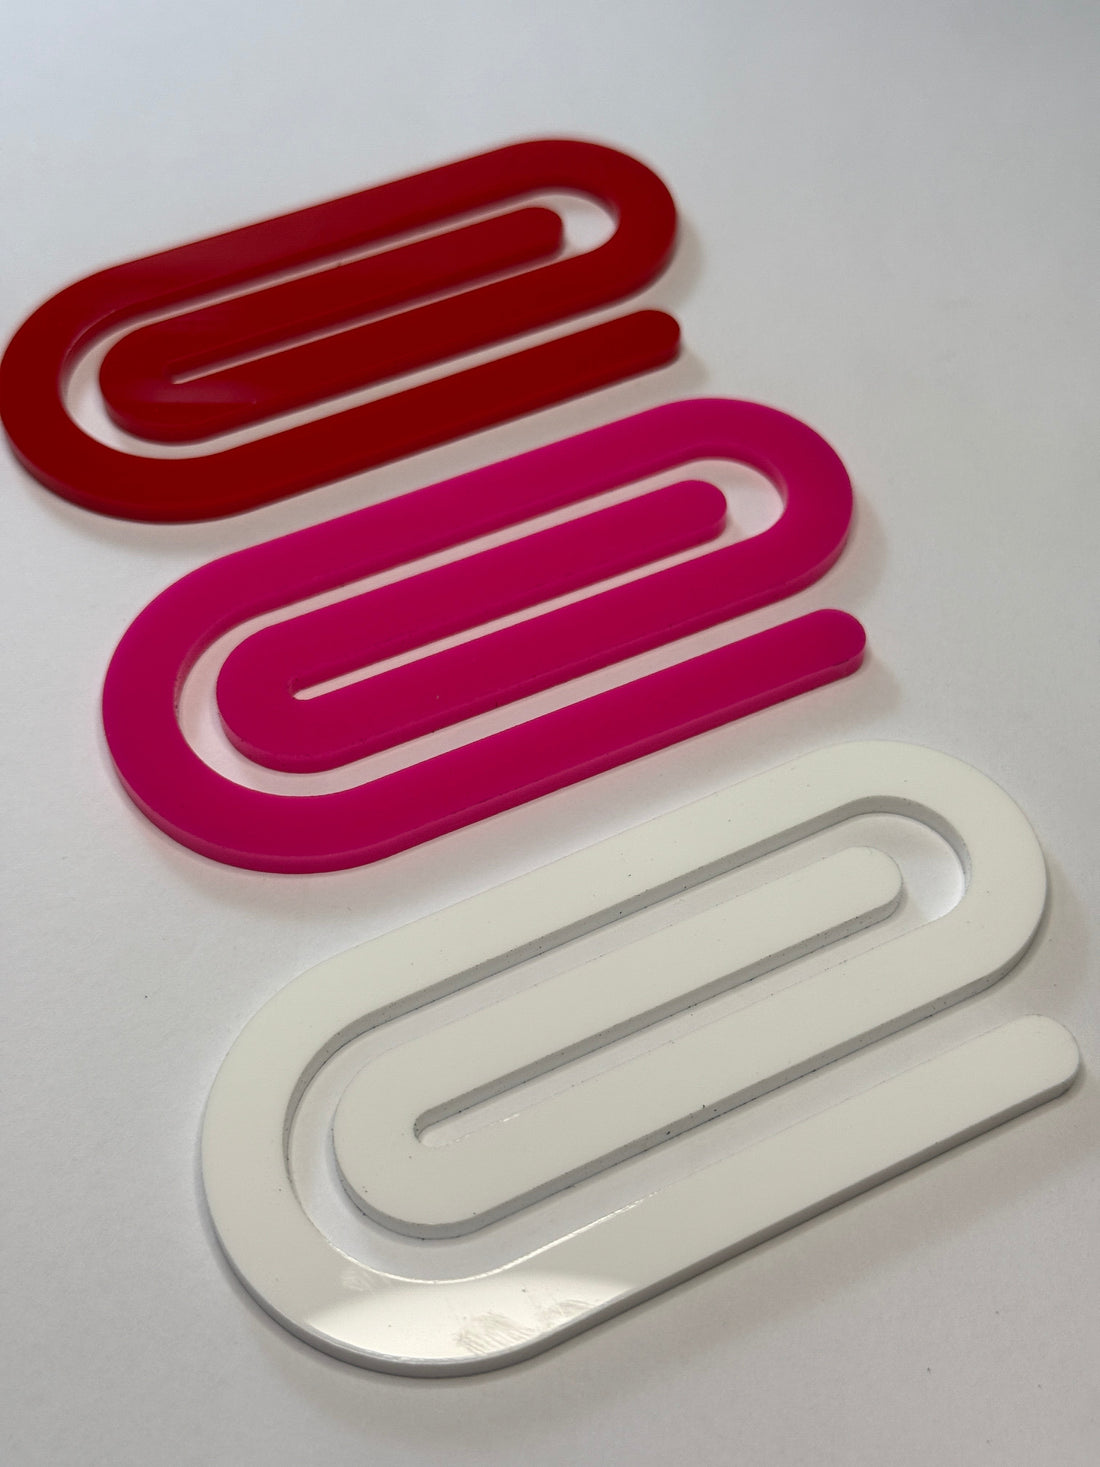
Jumbo Paperclip (Free File!) — Laser + 3D Print Tutorial
Need a fast, giftable, teacher-friendly project? Meet the Jumbo Paperclip—cute, sturdy, and classroom-approved. Grab the free files below and follow the quick steps for either laser cutting (Glowforge/CO₂ lasers) or 3D printing (STL).
Download the Free Files (SVG + STL)

Laser Version (CO₂ laser like Glowforge/OMTech)
Material: Right below are the materials that I used. Just click on the images and and you can easily access the materials on Amazon which I earn a small commission at no extra cost to you as well as the SVG files from my shop!
· 1/8" (3 mm) acrylic (cast recommended)

· Masking (for acrylic/plywood, to reduce scorch)
· Honeycomb pins or magnets
1) Prep the File
· Import JumboPaperclip.svg into your laser app. (from the freebie vault)
· Ensure the outer stroke is set to Cut. If you see any fills, set them to none and keep strokes as vectors.
2) Material & Mask
· Place masked acrylic on the bed, flat and secured.
· Focus at material top (3 mm for 1/8").
· Always run a small test cut swatch first—materials vary!
· After cutting, pop out the shape.
3D Print Version Quick and Flexible

Filament: PLA (easy), PLA+, or PETG (more flexible)
0.4 mm nozzle (standard)
Build surface I use the ever so handy engineering plate!
1) Import & Orient
· Open JumboPaperclip.stl in your slicer. (from the freebie vault)
· Lay flat on the bed (clip profile facing up). No supports needed.
2) Slicer Settings (good starting profile)
· No supports
· Brim: Optional 2–4 mm if your bed adhesion is iffy
Material choice:
PLA / PLA+: crisp, easy, slightly stiffer
PETG: a tad more flexible and durable (nice for thicker stacks of paper)
3) Strength & Flex Tweaks
· If the clip feels too brittle:
· Increase perimeters to 4 and infill to 30–40%.
· Try PETG for flex.
· If it feels too stiff to slide on paper:
· Scale Z height down to ~80–90% (makes it slimmer) or reduce perimeters to 2.
· Slightly scale X/Y up by 2–3% to open the inner gap.
4) Print Time & Bed Tips
· Typical print: 18–22 min depending on size and profile.
· Make sure the first layer is buttery-smooth; a bad first layer = weak clip.
Finishing Touches
Acrylic: Add a vinyl decal, UV print, or paint-fill engraved details (if you add a score/engrave layer).
Classroom & Gift Ideas
Planner clip for hall passes or tardy notes
Giftable add-on with teacher name plates
Spirit week bundles
Goodie bag stuffer for open house or conference
Safety (quick but real)
Lasers: Never leave unattended; vent properly; keep acrylic scraps away from flame.
Printing: Vent PETG/ABS; keep hotend/bed clear; let parts cool before removal.
Licensing & Use:
Free personal + classroom use: Print/cut and gift away.
Selling physicals? You’re welcome to sell handmade clips under the Personal and Basic use (up to 500 units/design) included when purchasing this file. For POD/DTF/UV/Unlimited, that lives under POD & Unlimited Commercial License (please purchase the actual file). You can purchase here. Please don’t resell or share the digital files.
Share & Tag
If you make this, tag @cheekyminds so I can repost your creations!
Would you like a different style or design! Leave me a comment!